Monday, February 23, 2015

Nature Journal: Inside Cover


Here is a quick peek into another page from my Nature Journal (read more about it in my last post).
The inside cover of my nature journal is made of slightly thicker, glossy paper. Since it could take more than the usual quantities of paint, so I chose to let myself loose and go wild with it.
First I filled up the sheet in random colour blocks. Then I drew on it with a white paint pen. I filled in the outlines with a black sketch pen, finally blocking out the background with black paint. The result is for all to see…

Going with the charms of spring, couldn't resist the flowers, birds, butterflies and bees! :) Hope you enjoyed these glimpses of the inside cover.

Tuesday, February 3, 2015

Nature Journal: January


One of the new things I started this year is maintaining a nature journal. Last year when I was reading up on art journaling and searching for new ideas, I came across this amazing concept. Those of you who have been following my work would know what a freaked-out nature worshipper I am. Only need an excuse to incorporate flowers, leaves, floral patterns and everything Nature into my works. Perhaps that is why this idea appealed so much to me.

And what was the super idea? - Simple, to maintain a monthly nature journal. And what does that involve? - To go out and take a closer look at the world around you. To record, mentally and literally, every little change that you see happening.... The leaves changing colour, the new buds blooming, the birds that you encounter, the crawly fellows who visit your garden... everything and anything can find a mention in the nature journal.

 
I have just about finished putting together my page for January (though there is still some scope for doodling!) and decided to share it with you all. Do you like it? I had lot of fun putting it together, especially the dry leaf in the right corner. That I try to go on walks daily helped me in collecting interesting pieces for the journal. But this exercise definitely made me more aware of my surroundings, as I looked for interesting stuff to put in my journal.

Also, this journal is made out of an upcycled advertorial magazine. I glued multiple pages that were too thin to serve as a base and got a thicker material that could hold paint and gesso. At other places I laid on thick layers of paint to cover up the original printed matter, and voila, there was a new base to work on! Go on, try making one yourself. It will be an exercise you'll surely fall in love with.

Thursday, January 22, 2015

Wholesome Breakfast


Another still life I created recently - a table setting for a wholesome breakfast. Care to join in?


This is a mixed media effort, with many details done using paper collaging. I especially like how the flowers, the juice glass and the table cover came out.

Tuesday, January 13, 2015

My Winter Of Discontent


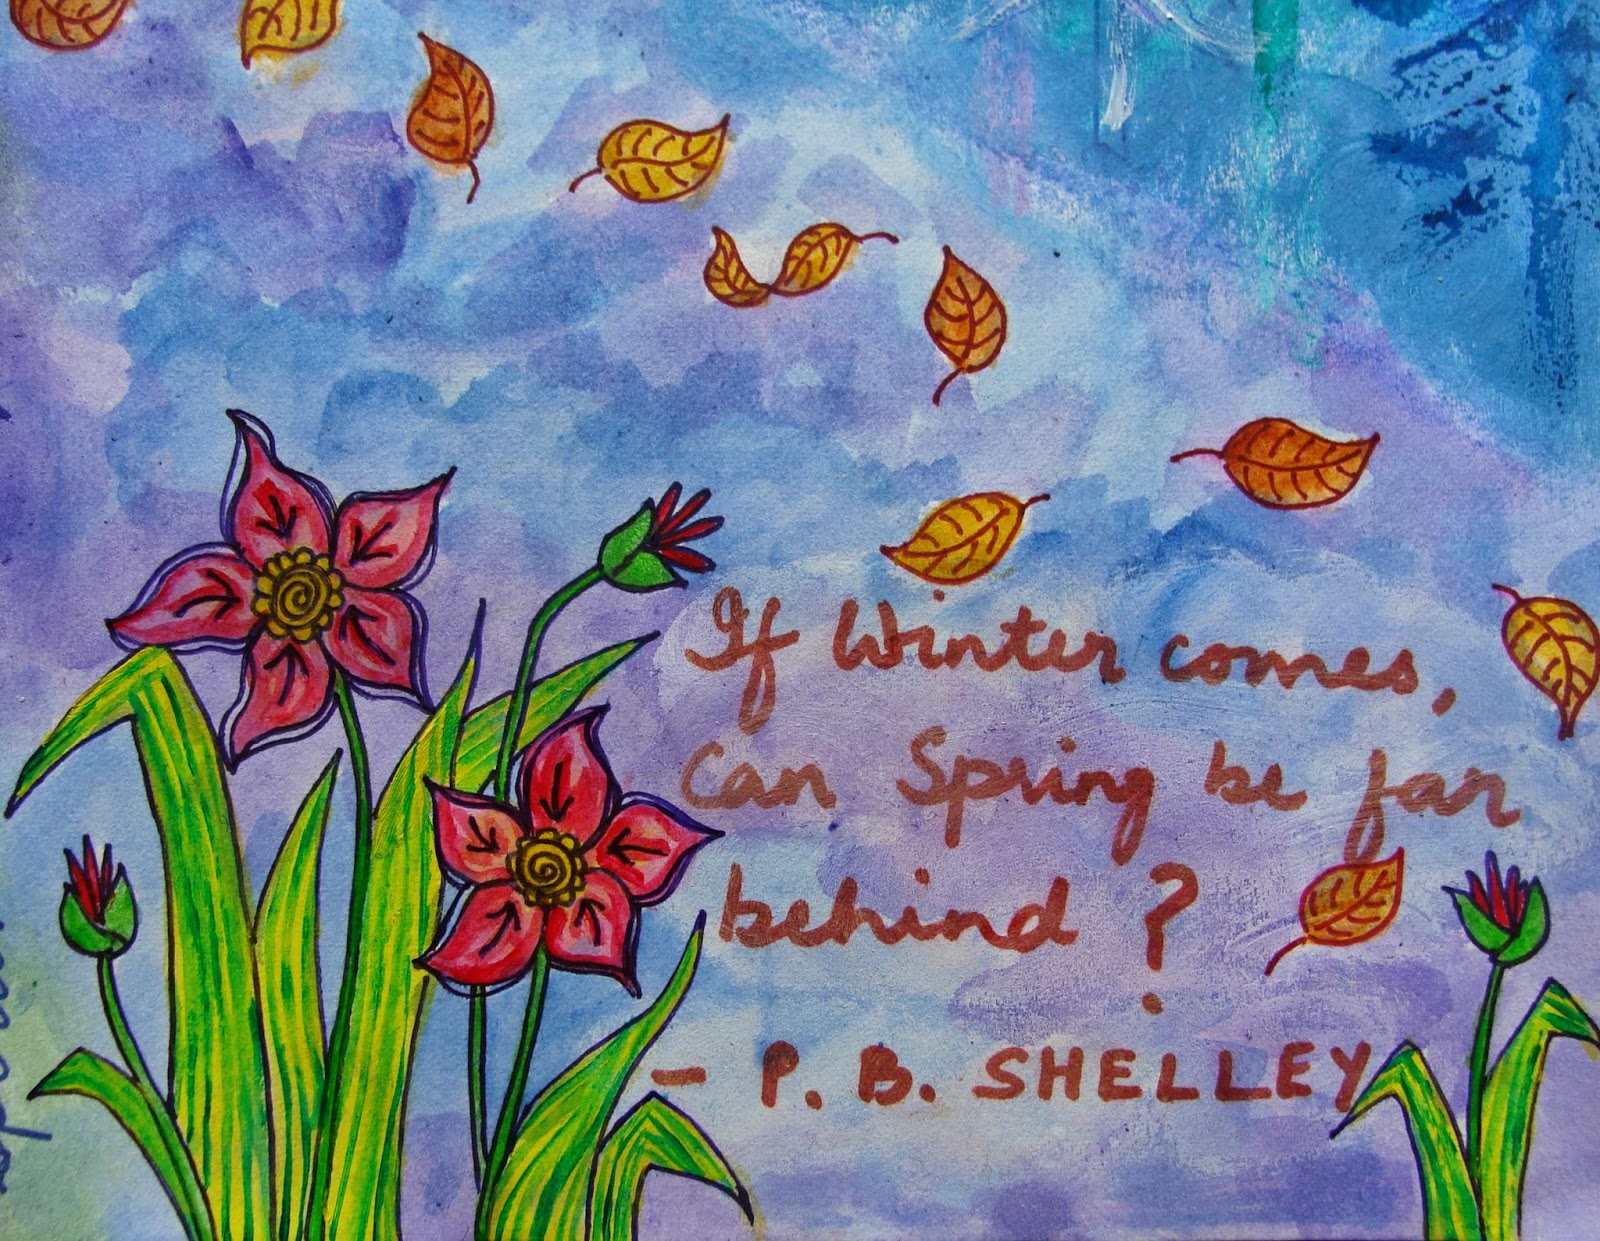
First post of the new year and I am searching for words! Winters leave me feeling like that.... listless and unable to focus on my work.


But browsing through the first posts of other fellow artists has only brought home to me that I need to get more organized about my work. So while I am not exactly making any resolutions, these pointers I have gathered can help any budding artist/entrepreneur. In no particular order, here are some things I intend to focus on this year.

Unplug
While the internet forms the backbone of reaching out to the world and learning from other artists, sometimes too much of it actually serves to freeze my own creative juices.

Make time
This one is easier said than done; I mean allocating specific time slots to specific activities. I am bad at this, as unscheduled activities have a way of eating into my creative time.

Sketch
Any artist worth his or her salt will vouch for this. You really can never sketch enough! In my early days I used to make a point of doing this often but I have slipped horribly on this one lately.

Set goals
Think and figure out what you aim to achieve in the coming year, and get down to work accordingly. My mode of operation has been far too haphazard all this while and I can't wait to get cracking but then again, there are plenty of challenges to overcome.

So there.... at least I have it all pat down. And henceforth, the winter months (read December- January) shall be spent catching up on my reading. Rather than making half-hearted attempts at creating art that only leave me feeling more frustrated. I am not particularly fond of winters, and since that has been affecting my creative process around this time every year, consistently, year after year, hence this change in track.....


It is only thoughts like these that keep me going through the grey, foggy and sunless months. This is one time of the year when I want the calendar to turn faster! :) How about you, dear readers? How do you deal with the cold winter months, especially in terms of creative output.

Saturday, December 20, 2014

Paper Snowflakes


It has been a slow December this time. Or let me reword it... Fact is that December is always a slow month, as the onset of winters and grey days seem to dull my creative juices. The lack of sunshine takes a toll every winter. And then, as too many happenings on the personal side spill over this year, it means work-wise things have taken a backseat.

With work crawling through most of this month, I am now staring at a bunch of half-finished things on my table. Unfinished painting collages, just started bottles, and half-done mosaic projects. Definitely not a good place to be in.... especially for any creator. But I was reading through a newly discovered blog of a fellow artist and I realised that all of us go through such cycles. Sometimes we work in a frenzy, and then sometimes nothing quite gets done.

Anyhow, in a bid to move on, I tried making some paper snowflakes yesterday with this super tutorial from instructables.com : http://www.instructables.com/id/How-to-Make-6-Pointed-Paper-Snowflakes/?ALLSTEPS. The first one was a bit of a dampener but the second one turned out real neat and pretty.


Suggest you give them a try and add some Christmas cheer to your windows. I will be travelling with family over the Xmas weekend; so here is wishing you all merry times with family, friends, food and of course, Santa! :)


Monday, November 24, 2014

Daffodils and Tulips


The brief said "shades of yellow, ochre and rust" were required along with "some vines". What I thought was a four-sided bottle turned out having eight sides - four slim sides and four broader ones. The expansive neck of the square-ish bottle only made things more difficult. And to top it all, not only was time at a premium but I also had guests at home. ...Phew!!!

Yes, these were the circumstances in which I started work on this bottle. After agreeing on daffodils and tulips with the client, I tentatively created the flower outlines, one type on each alternate side. As I diligently filled in the appropriate shades according to the brief, things started looking up. The four broad sides were covered; so far, so good. But what next?


I still had no idea about what to do with the upper part, the neck and those slim sides. And how were the vines supposed to be incorporated? Traditional and leafy green vines would have made the bottle look too cluttered. So one morning, very hesitantly, I started making vine-like designs using the colours of the outlines - yellow and black. At least they would fit in well with the colour scheme. But I wasn't sure if my unusual take on the vines would go down well with the client....

....Till that lovely Saturday morning when I actually met her to hand over the commissioned bottle. It was with a mix of relief and satisfaction that I saw her joyously accept what I handed her. And yes, as she very succinctly put it, my vines added a "vintage look" to the cherished bottle.


Believe me, there is no greater happiness than to see the look of wonderment when you hand over a finished bottle to an appreciative client. Thanks, dearest J, for giving me this opportunity!

LinkWithin

Blog Widget by LinkWithin