Showing posts with label mosaic. Show all posts

Friday, February 4, 2022

Mosaic Garden Stake


Two months and zero posts - not a happy milestone, by any means! But some upheavals on the family front, coupled with the bone-chilling cold, kept the creative projects on hold for a while. Now here's starting the year's posting with a detailed walkthrough of our latest mosaic project - a garden stake created entirely using recycled materials. 

This sustainable artwork uses broken tiles/ceramics and mirrors mounted on a PVC pipe. To see the entire process, click here

The stake can be placed in the ground directly or planted in a container, thus giving us the flexibility to move it around, and making it an indispensable garden decor item. Love the pop of colour it adds to our garden! If you have any queries on this project, write to us at creativerumblings@gmail.com and we'll connect.


Sunday, December 20, 2020

Blue Heart Mosaic


Earlier this year, we created a blue mosaic heart on a stone slab to commemorate 2020, the year of the nasty pandemic that has taken the world by storm. Covid-19 has affected countless people globally, impacting individuals, their means of livelihood, and their families adversely.

This blue heart mosaic stands in our front garden as a mark of thankfulness to all the frontline workers in the middle of these unprecedented times. Those that left behind their loved ones at home to venture out to the call of duty, risking their lives for ours.


We wish for a better, kinder world in the coming year. A world where people are not afraid to meet, to hug and hold hands, and most importantly, a world that does not place restrictions on our freedom. Hope our wish for a happier, healthier world comes true soon.

Friday, October 16, 2020

Mosaic Cacti Planter


There's something about joining broken pieces to make a new whole. Giving fresh life to broken pieces by recycling and reinventing. 

And that is exactly what I did with the concrete planter that the gardener mistakenly broke last month. Instead of throwing it, I decided to refurbish it to plant my expanding collection of cacti. But only after giving the broken edge of the planter a new mosaic finish.

Since I had glass beads lying around, I combined them with hand-cut pieces of ceramic tile to make these mosaic flowers. Afterwards, I fixed them in place using adhesive and cement grout.


After the gardener helped replant the cacti, this is what the final piece looks like. Isn't that a lovely makeover? Now I can't wait for those cacti to bloom in summers.

Update: 

Had to share a picture of the mosaic cacti planter with its beautiful blooms.


Project successful :)


Friday, October 9, 2020

The Community Art Project - Part 2


Hey, readers! Hope you all enjoyed our community mosaic story that was featured last month. Yes, I am still somewhat in mosaic mode, as we cross the wall showcasing our artwork often and feel happy for our contribution. Moreover, I am also making small mosaic pieces around the house as and when I get time. So I thought of bringing you all a peep behind the scenes, with this write-up about the process of mosaic making.

Mosaics can be made in multiple ways, the most common and obvious one being the direct method, where tesserae pieces that make up the mosaic are stuck directly on to the substrate and grouted. However, since our community artwork was large and the weather was horribly hot and humid, working outdoors was not a good idea. Moreover, there was the scare of the pandemic. So it was decided to mosaic using an indirect method. 

We had a printout of our artwork as the guideline... 

...and we assembled the mirror and tile pieces over a mesh.

Cutting tile and mirrors neatly to size is an art in itself, and the boys did a better job of it.

Indirect methods of mosaic making give you the freedom to innovate as you go along. Like the ponytails I added on one of the kids to bring gender balance to our piece.

Once our mosaic was complete, we lifted the mesh and checked for unattached pieces. Other than posing with the artwork, of course!

On the day of installation, we cut the mosaic to size before adhering it to the wall. 

Finally, we went back the next morning to grout and buff our artwork. Grouting gives the final finished look to a mosaic, other than sealing and waterproofing it.

And this is us with our mosaic kids!

The finished artwork now looks like this, the mirror outlines glistening beautifully in the light. 

For any similar mosaic projects you have in mind, do get in touch or write to us at  creativerumblings@gmail.com. We will help create from scratch a hand-cut piece of mosaic artwork to brighten up your spaces.

Friday, September 4, 2020

The Community Art Project - Part 1


Life is full of surprises, they say! And when an exciting prospect presents itself in the middle of this pandemic-ridden year, it only gets sweeter. As the lockdown started and all plans came to a grinding standstill, there was a sense of despondency and uncertainty. But who knew that the year would provide us with such a wonderful learning opportunity to pick up a new skill.

Despite the pandemic scare, our local RWA decided to go ahead with a public art project that was to be executed by the community, for the community. The project involved sprucing up an entry wall facing the main gate to our block. But the challenge - it was to be done in mosaic! 

Kanika Singh from Mini Mason Mosaics came on board to be our mentor and guide. A visit to her gorgeous studio, followed by a Zoom consultation and a quick hands-on workshop, and the four teams were raring to try their hands at the new skill of mosaic making.

Snapshots from the hands-on workshop

The public artwork was designed to represent three generations of a family living in our block, along with their pet, and how each of them is enjoying their lives in the community. Each team picked up a particular character silhouette to work on. We brought home the playful kids.

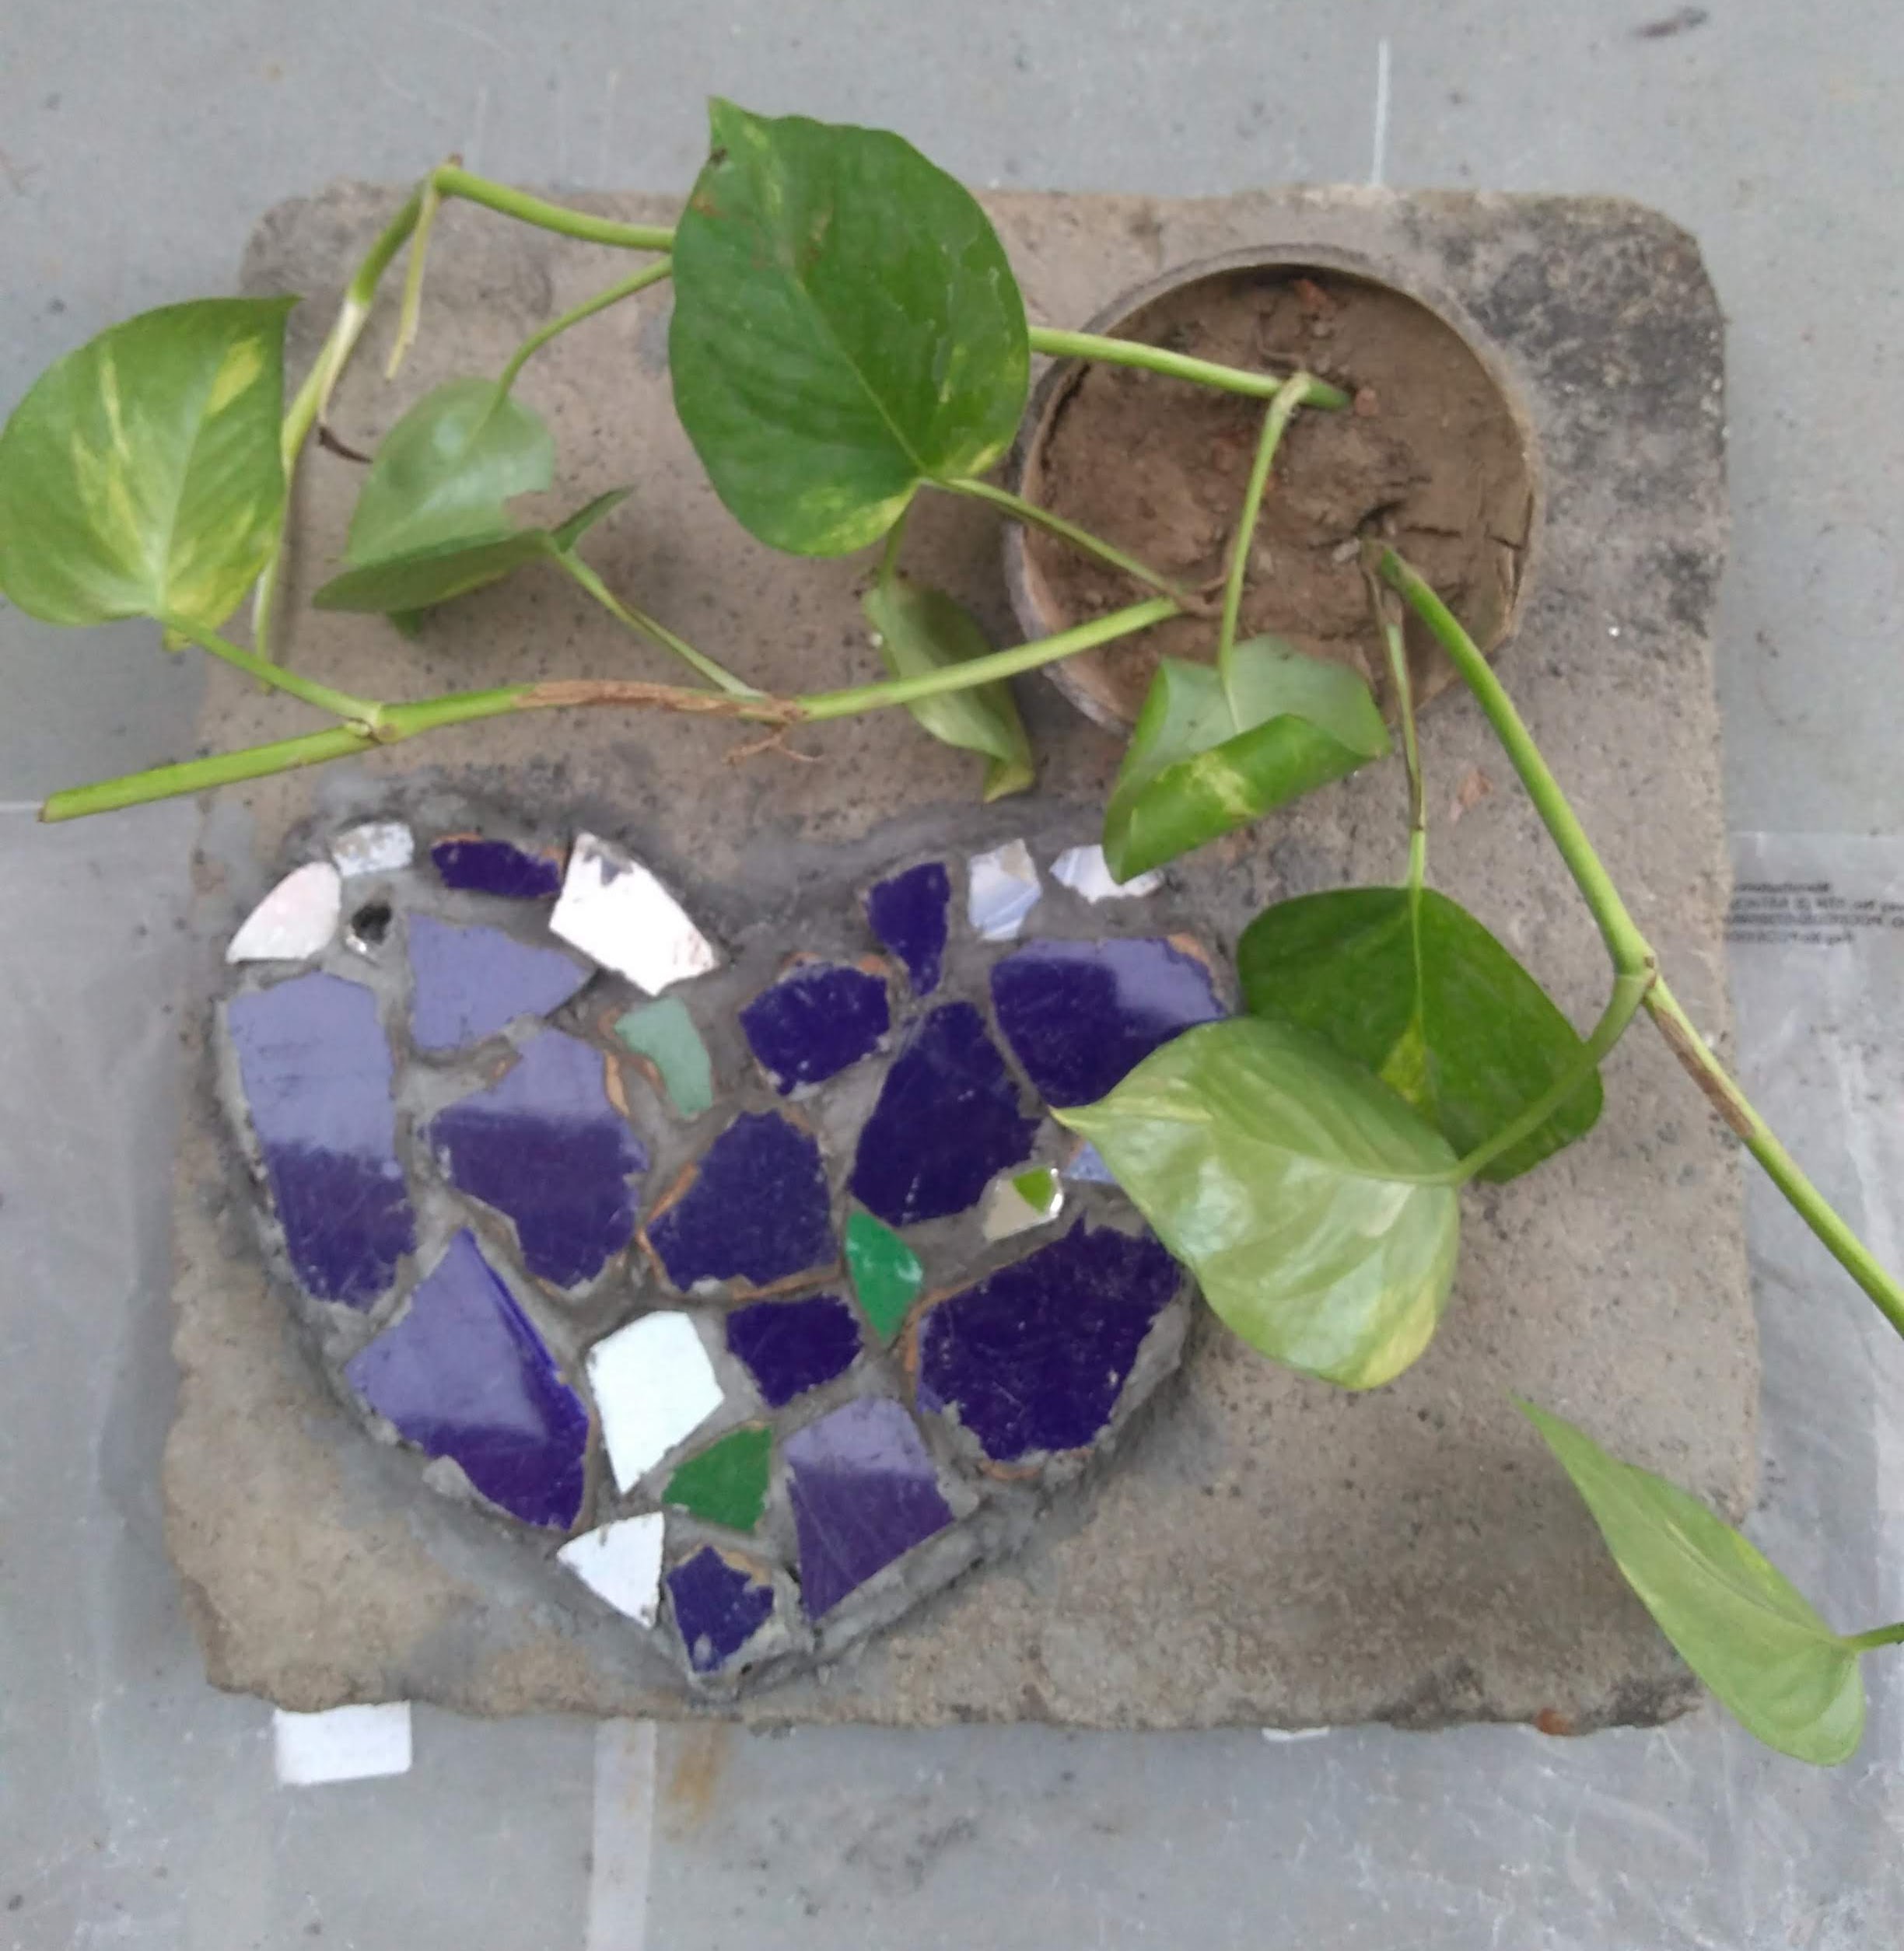
Bringing our mosaic kids to life, little by little

As each team worked from the safety of their own homes due to the pandemic, our community artwork started coming together in bits and pieces. 

Each team with their mosaic at their home

And before long the dazzling pieces were ready to be installed.

Our mentor demonstrating the installation process

Pleasant mornings, with cloudy skies and a gentle breeze, made it seem like a picnic of sorts as all the teams gathered over a weekend to get their mosaic pieces up on the wall.

Prepping the pieces pre-installation

As our piece had a lot of intricate areas (the arms, legs and fingers), it needed many helping hands to get them to stay in place. Reminding me of Jiddu Krishnamurthy's famous words, "It takes a village to raise a child."

It took a village to get the kids up there

When the artwork was finally put up for the public, it was such a gratifying experience to be able to give back to the community, especially in these difficult times. To have been chosen as a medium to spread positivity is indeed fulfilling.

We feel that public art always arouses a sense of wonder, joy and hope in the community at large. Just a glimpse provides nourishment to tired souls, even if briefly. Much needed in these stressful times.

The completed mosaic mural

We feel immensely grateful for the new learning, and the opportunity to connect with some great people. 

Key members of the team

As together we bring a smile on the faces of those who view, enjoy and interact with our art. Hoping to spread joy for years to come! :)


Update: Read Part 2 of this story here.


Friday, August 30, 2019

Garden Slab Mosaic


When we moved to a new place earlier this year, I noticed quite a few concrete slabs lying around the front garden. Dull and grey, they looked awful. So I had to unleash my creative juices... I decided to give one slab a mosaic makeover using damaged and broken ceramic pieces that I had been saving for a while.


Hubby partnered with me for this project, making it a fun DIY that we both enjoyed. We first covered the slab with a concrete mix and embedded the ceramic and tile pieces into it.


Allowing sufficient drying time, we grouted the slab to seal the embedded pieces and smoothen out the rough edges.


Next I used wet rags to buff the mosaic and clean off the extra bits of grout.


And voila! The boring concrete slab turned into a pretty stepping stone in the front garden.


To read what makes this mosaic project extra special, click here. Now I need more broken ceramics for mosaicing the remaining slabs in the garden. Who all are game to chip in?


LinkWithin

Blog Widget by LinkWithin